
Tùy chỉnh nội dung hiển thị lỗi
- Phần trước chúng ta đã biết tạo một validate là như thế nào, tuy nhiên câu hiển thị lỗi hiển thị là dạng mặc định có trong Laravel, trong phần này, chúng ta sẽ tùy chỉnh câu hiển thị lỗi như mong muốn, ví dụ hiển thị bằng tiếng Việt chẳng hạn.
- Dựa theo kết quả của bài Validation form đã làm, chúng ta thêm vào controller PostController.php một biến messages với nội dung như sau:
File Controller: PostController.php
<?php

namespace App\Http\Controllers;

use Illuminate\Http\Request;

class PostController extends Controller
{
    public function showform() {
        return view('admin/create');
    }
    public function validationform(Request $request) {
        echo "<pre>";
            print_r($request->all());
        echo "</pre>";

        $messages = [
            'title.required' => 'Tiêu đề bắt buộc nhập',
            'title.max' => 'Tiêu đề không được vượt quá 50 ký tự',
            'description.required' => 'Nội dung mô tả bắt buộc nhập'
        ];

        $this->validate($request,[
            'title'=>'required|max:255',
            'description'=>'required'
        ], $messages);
    }
}
- Khi này, nếu nhập title và description không đúng điều kiện trong Controller, thì sẽ báo lỗi, ví dụ ta bỏ trống 2 field này và click button
Submit:
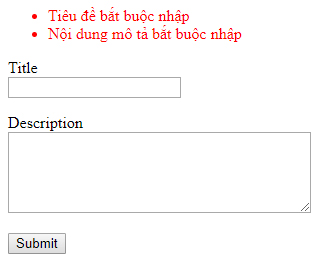
$messages.Tùy chỉnh vị trí hiển thị lỗi
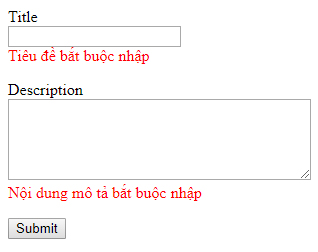
- Giả sử chúng ta muốn hiển thị nội dung báo lỗi ngay bên dưới trường cần nhập thì làm như thế nào? Laravel cung cấp một cách tùy chỉnh khá hay giúp điều khiển vị trí xuất hiện lỗi khá thuận tiện, đó là cách sử dụng hàm có sẵn
$errors->first('name'). - Để thực hiện việc này, chúng ta cần viết lại controller PostController.php như sau:
File Controller: PostController.php
<?php

namespace App\Http\Controllers;

use Illuminate\Http\Request;

class PostController extends Controller
{
    public function showform() {
        return view('admin/create');
    }
    public function validationform(Request $request) {
        echo "<pre>";
            print_r($request->all());
        echo "</pre>";

        $messages = [
            'title.required' => 'Tiêu đề bắt buộc nhập',
            'title.max' => 'Tiêu đề không được vượt quá 50 ký tự',
            'description.required' => 'Nội dung mô tả bắt buộc nhập'
        ];

        $this->validate($request,[
            'title'=>'required|max:255',
            'description'=>'required'
        ], $messages);

        $errors = $validate->errors();
    }
}
VIẾT LẠI THÔNG BÁO LỖI TẠI VIEW: create.blade.php
<!doctype html>
<html>
<head>
    <title>Login Form</title>
    <style type="text/css">
        .error-message { color: red; }
    </style>
</head>

<body>
    <form method="post" action="/admin/create">
        @csrf
        <p>Title<br>
            <input type="text" name="title" value=""><br>
            <span class="error-message">{{ $errors->first('title') }}</span></p>

        <p>Description<br>
            <textarea rows="5" cols="40" name="description"></textarea><br>
            <span class="error-message">{{ $errors->first('description') }}</span></p>

        <p><button type="submit">Submit</button></p>
    </form>
</body>
</html>
- Khi này, nếu nhập title và description không đúng điều kiện trong Controller, thì nội dung lỗi sẽ xuất hiện như sau:
- Tới đây ta đã nắm được cơ bản validate của Laravel rồi, muốn tìm hiểu nhiều hơn thì các bạn xem tiếp trong trang chính thức của nó nhe.
- Bài tiếp theo chúng ta sẽ tạo bộ Insert - View - Update - Delete để hiểu rõ hơn cách hoạt động của Laravel.