
View detail database
- Bài học trước chúng ta đã biết cách tạo một trang xem, liệt kê tất cả dữ liệu của một table như thế nào rồi, bài này sẽ giúp chúng ta xem (view) chi tiết của một dữ liệu cụ thể dựa theo id.
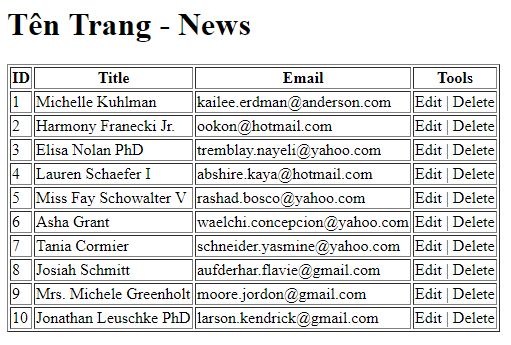
- Kết quả bài trước ta có trang hiển thị bảng dữ liệu sau http://localhost:82/admin/news:
Chuẩn bị
- Để xem trang hiển thị chi tiết một dữ liệu cụ thể dựa theo id, ta cần một liên kết chứa id tương ứng, muốn vậy ta cần viết thêm cho vew news.blade.php
- Tạo view cho trang chi tiết để hiển thị dữ liệu.
- Viết thêm Controller điều khiển dữ liệu cho trang chi tiết này.
- Cuối cùng là tạo một Route điều hướng dữ liệu từ Controller sang view.
Các file xử lý sẽ thuộc cấu trúc sau:
myproject
app
Http
Controllers
Admin
resources
views
routes
 AdminNewsController.php
Thêm liên kết cho trang /resources/views/admin/news.blade.php
Liên kết cần chứa id để có thể xem nội dung chi tiết của một dữ liệu nhất định.
<h1 class="box-title">{{ $pageName }}</h1>
<table border="1">
    <thead>
        <tr>
            <th>ID</th>
            <th>Title</th>
            <th>Email</th>
            <th>Tools</th>
        </tr>
    </thead>
    <tbody>
        @foreach($news as $row)
        <tr>
            <td>{{$row->id}}</td>
            <td><a href="/admin/news/{{$row->id}}">{{$row->title}}</a></td>
            <td>{{$row->email}}</td>
            <td>Edit | Delete</td>
        </tr>
        @endforeach
    </tbody>
</table>
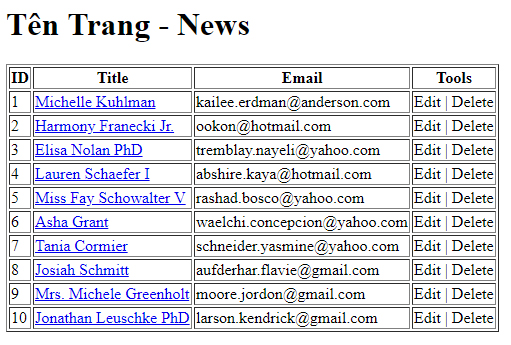
- Reload lại trang http://localhost:82/admin/news ta sẽ nhận được kết quả sau:
Thêm nội dung Controller
Thêm nội dung cho function show($id) của Controller AdminNewsController để gọi trang view xem danh sách:
/**
     * Display the specified resource.
     *
     * @param  int  $id
     * @return \Illuminate\Http\Response
     */
    public function show($id)
    {
        $news = News::where('id', '=', $id)->select('*')->first();
        $des = html_entity_decode($news->description);
        return view('/admin/news_detail', compact('news', 'des'));
    }
$news = News::where('id', '=', $id)->select('*')->first();: chọn dữ liệu đúng với điều kiện id bằng với id nhận được.$des = html_entity_decode($news->description);: decode cho dữ liệu description, tránh trường hợp dữ liệu có chữa mã html (rảnh quá viết thêm cho các bạn hình dung được cách viết thôi ^^).return view('/admin/news_detail', compact('news', 'des'));: gom dữ liệu trả về trang news_detail.
Tạo trang chứa thông tin chi tiết /resources/views/admin/news_detail.blade.php
Trang này chứa các giá trị trả về từ Controller, có nội dung sau:
<h1>News</h1>

<h2>{{ $news->title }}</h2>
<p>{{ $news->email }}</p>
<div>{!! $des !!}</div>
Chú ý: {!! $des !!}: cách viết hơi khác biết so với thông thường, cách viết này có thể xuất ra nội dung có chứa các mã HTML hay JS.
Thêm nội dung Route
Ta thêm vào Route /routes/web.php nội dung sau:
Route::get('/admin/news/{id}', 'Admin\AdminNewsController@show');
/admin/news/{id}: đường dẫn trang detail có chứa id.Admin\AdminNewsController: thư mụcAdminchứa ControllerAdminNewsController.show: Đây là functionshow($id)trong ControllerAdminNewsController.
Hiển thị trang xem chi tiết dữ liệu:
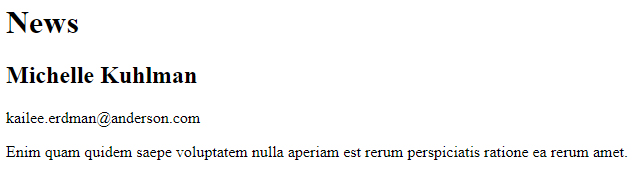
Mở trang http://localhost:82/admin/news lên trình duyệt, click vào link bất kỳ ta sẽ xem được kết quả sau:
Tới đây ta đã hoàn thành tạo trang xem chi tiết dữ liệu, bài tiếp theo chúng ta sẽ học về cập nhật dữ liệu một sản phẩm bất kỳ.